I mentioned this in another thread and I've taken some photos.
There are lots of instructions for building stoves on the web and I'm not going to cover old stuff again. Have a look at Zen Stoves. This is just the method that I find produces a stove that suits me. I've made a box full and got to this point. Not everyone will agree with the method. This is a sideburner stove. Some people will prefer topburners (like a Trangia) and pan stands.
Use these instructions at your own risk. Be careful with sharp tools and sharp edges on cans. Test your stoves somewhere safe. Most tent manufacturers would advise you not to use a stove in a tent. If you cut yourself or burn something, it's your responsibility. Be careful.
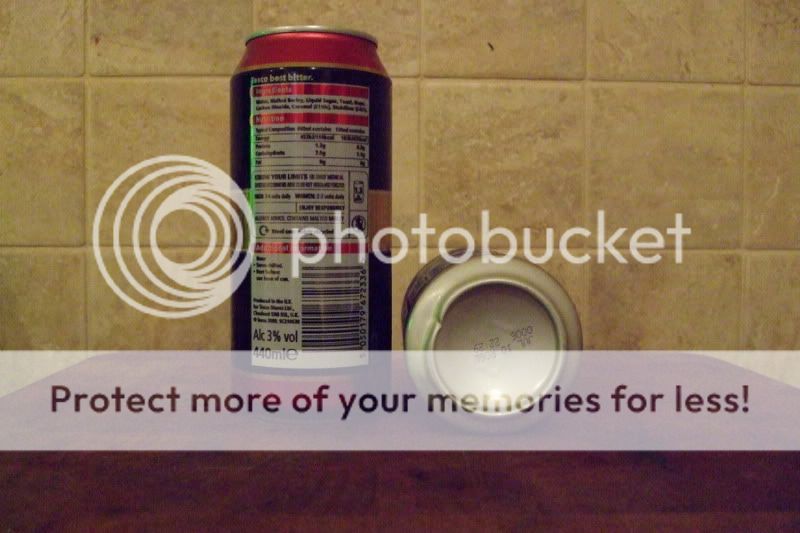
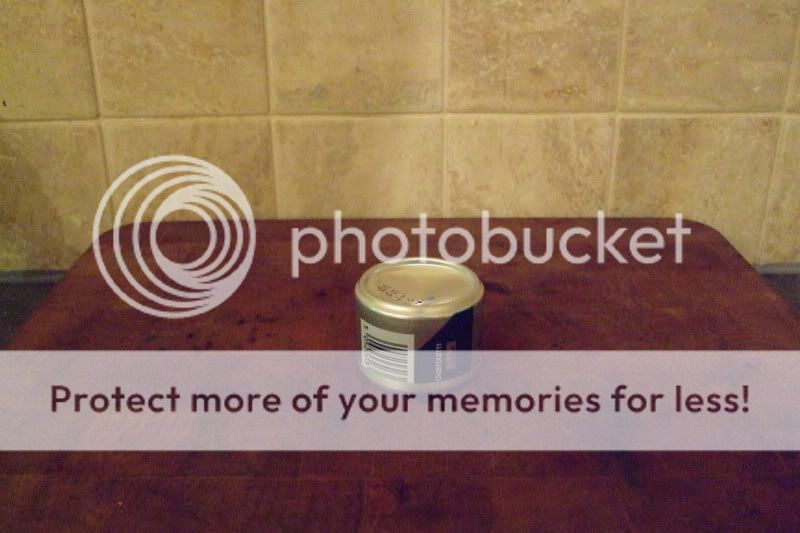
The first thing is to understand cans. Drinks cans are made from steel or aluminium. It usually tells you in the print on the back where the recycling information is. I've tried both and aluminium seems to work better. Steel is stronger but aluminium is lighter, easier to work, preheats quicker and burns hotter with quicker boil times.
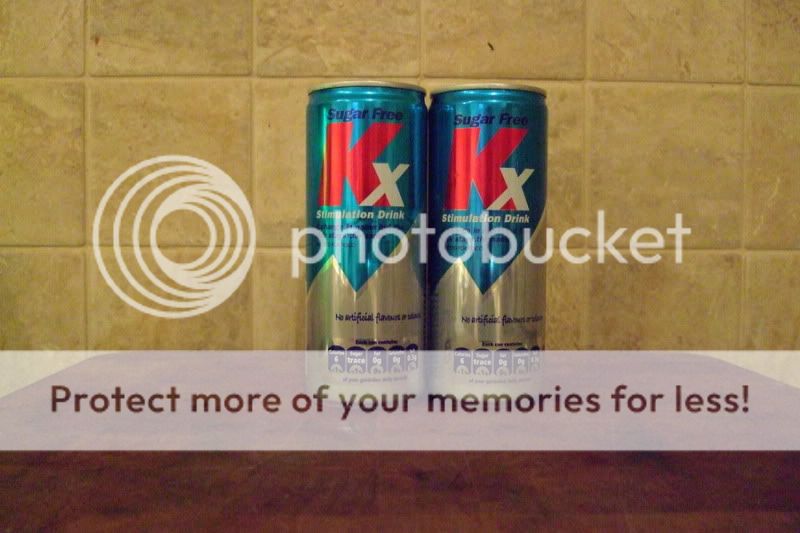
In this example, I've used energy drink cans, which are smaller in diameter and always seem to be aluminium. Fizzy drinks and beer cans work. But more on that later. You need two cans for each stove with this method.
I avoid steel cans (left). Look out for damage to the bottom rim (right), which will spoil your chances of making a stove that works well.
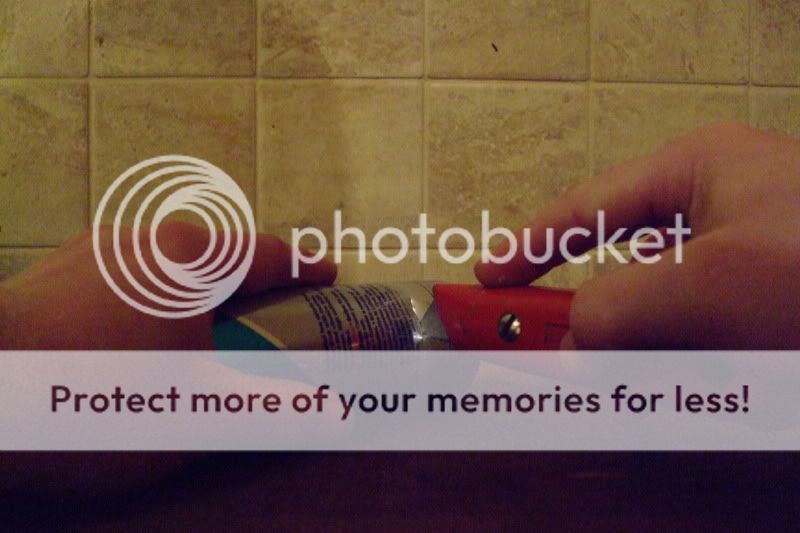
I use a book as a support and make a line with a permanent marker round the can. I make the top half 36mm and the bottom half 18mm. Notice I've sanded paint off the bottom section - optional but it gives a neater finish.
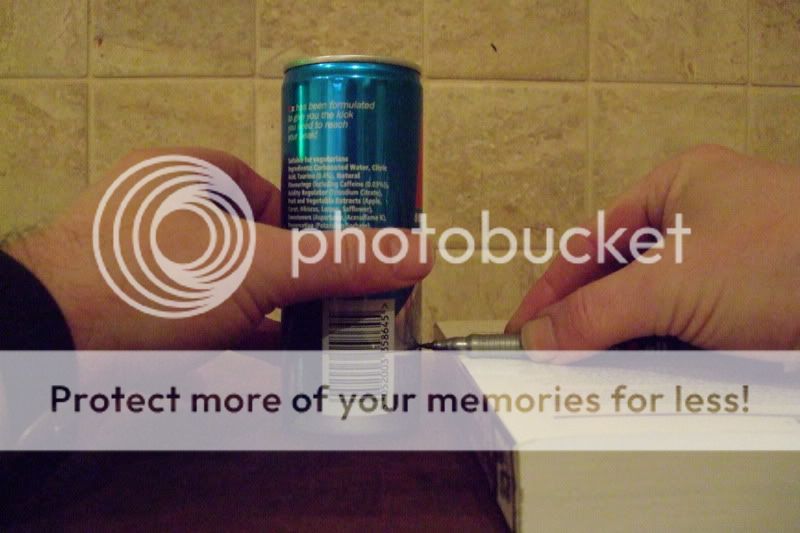
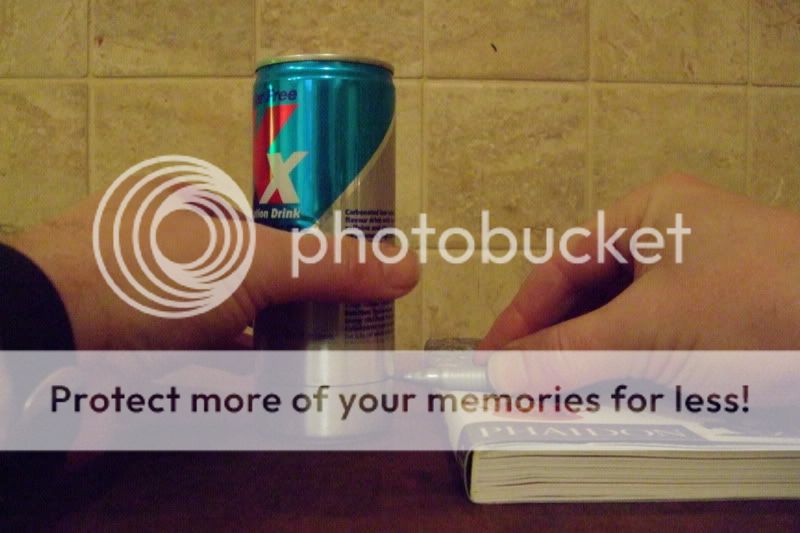
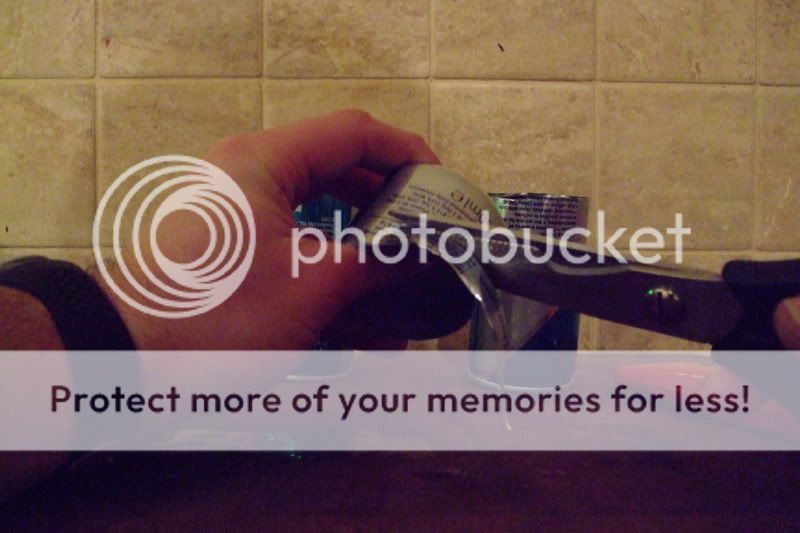
You can start the cut with a Stanley knife and then finish with scissors.
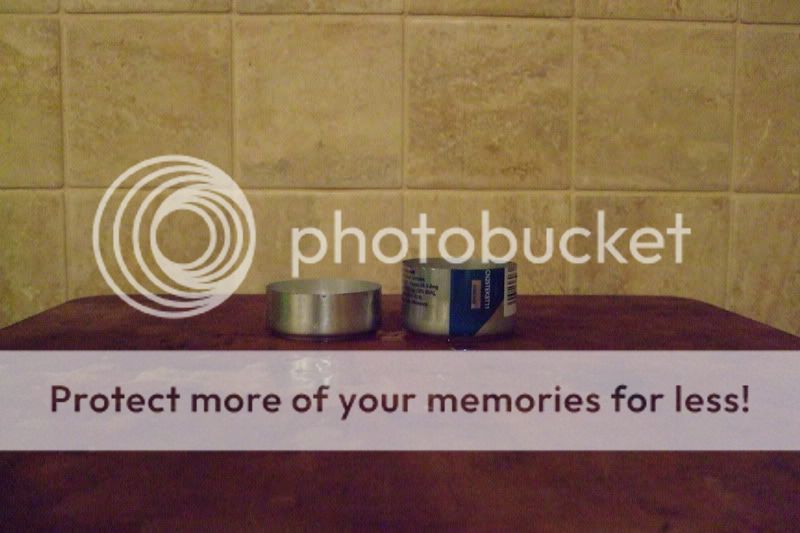
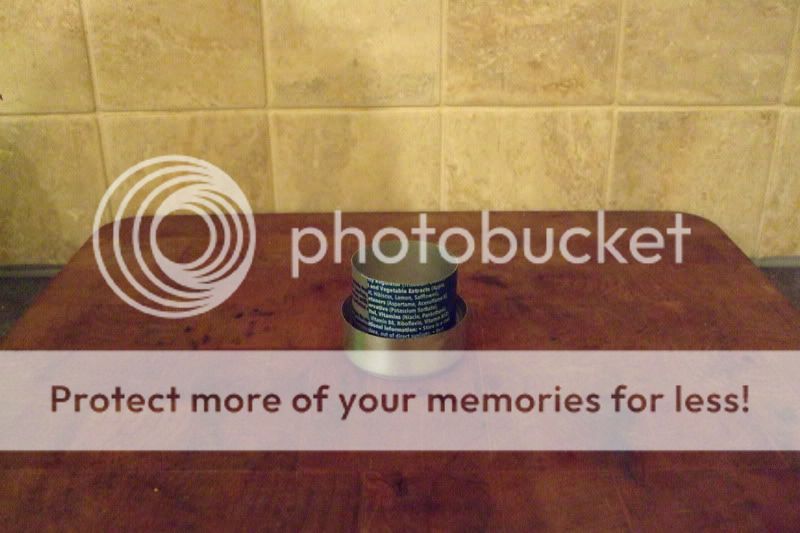
Which gives two halves of your stove outer wall.
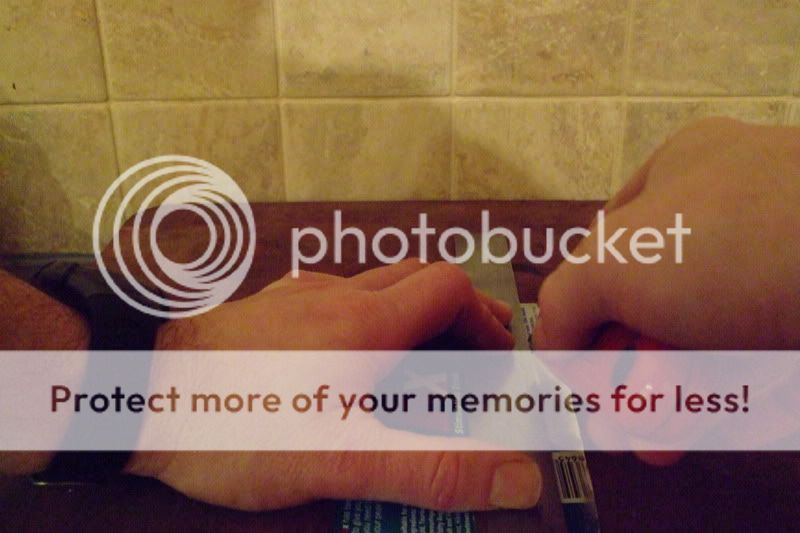
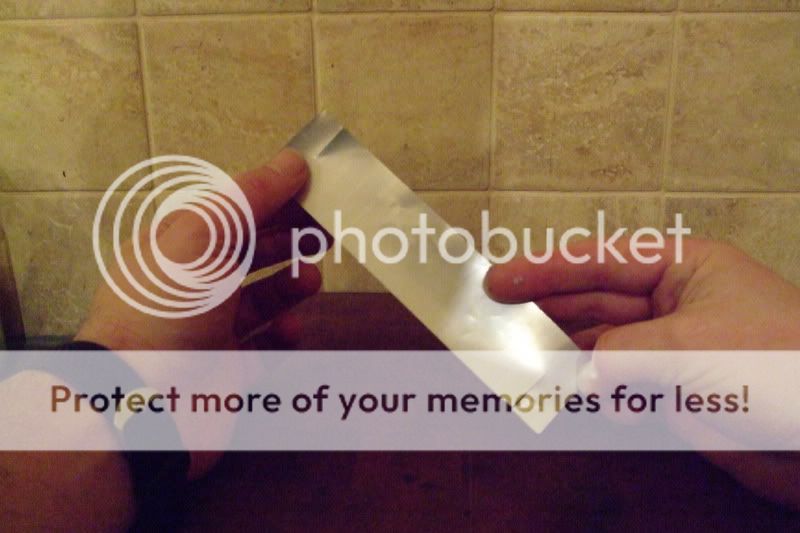
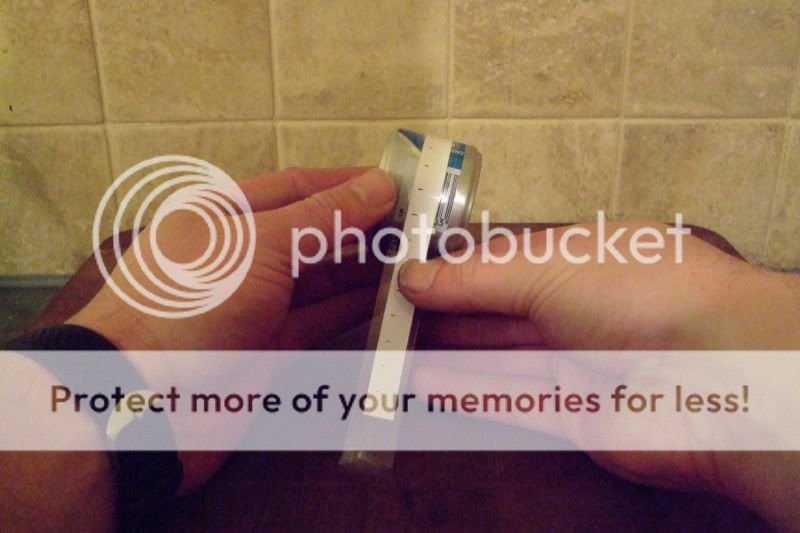
Now cut the wall from the remainder of the cans so you have a couple of sheets of flat aluminium. Use a straight edge (steel rule preferably) and knife to make a straight cut. Very carefully mark 39mm wide (that's 3mm more than your top section) and parallel, then cut the strip out with the knife and rule. Measurement is important here.
Take one of the strips and coil it to fit nicely into the recess in the lower section of the stove. Mark across the join with the knife.
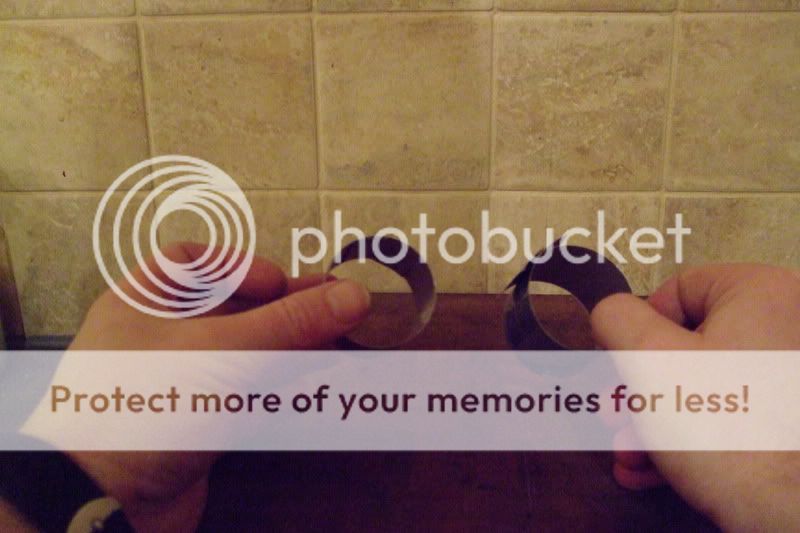
Square some lines at the marks and use scissors to cut half way down on opposite sides.
Use this as a template to make an exact copy. I find a double-thickness inner wall seals much better and stops the stove fluttering. Use the slits to make rings out of the strips. Place the tabs on one piece on the outside and one on the inside.
Now fit the two, one inside the other, so that the tabs are sandwiched inside and staggered on opposite sides. If they won't slide together, try reversing the tabs inside to out and vice versa, and swapping the pieces inner to outer. The inner wall should fit snugly onto the bottom half of the stove.
Punch a small hole into the top half of the stove to let air out when you fit it together.
Make a couple of slits in opposite sides of the inner wall and bend the tabs back to make drain holes. These should be about 4mm x 4mm. Invert the inner wall into the top section of the stove (the part with the hole punched in the top.
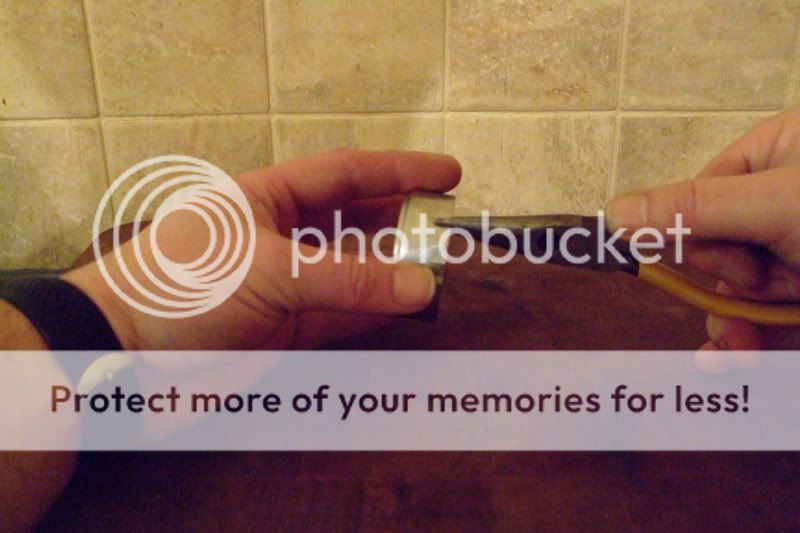
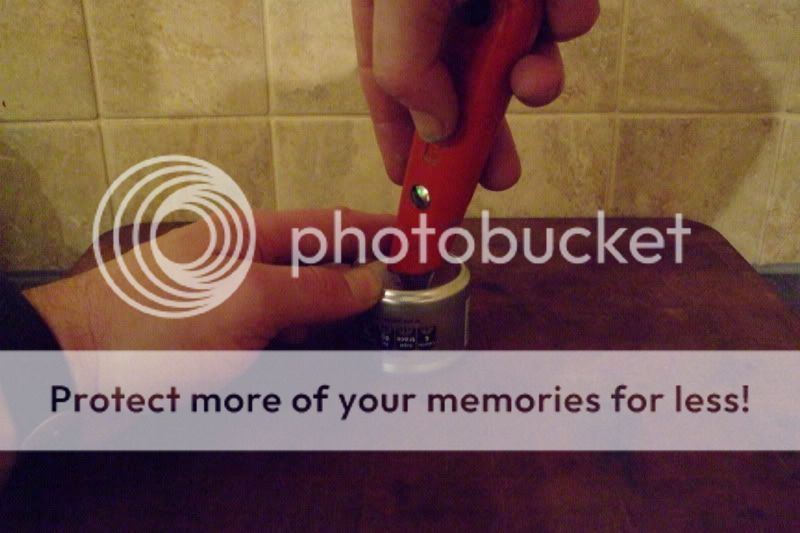
Now use pliers to crimp (not everyone likes this method but I find stretching these fragile cans difficult) the edge of the lower stove section. About 4mm deep and 1cm apart.
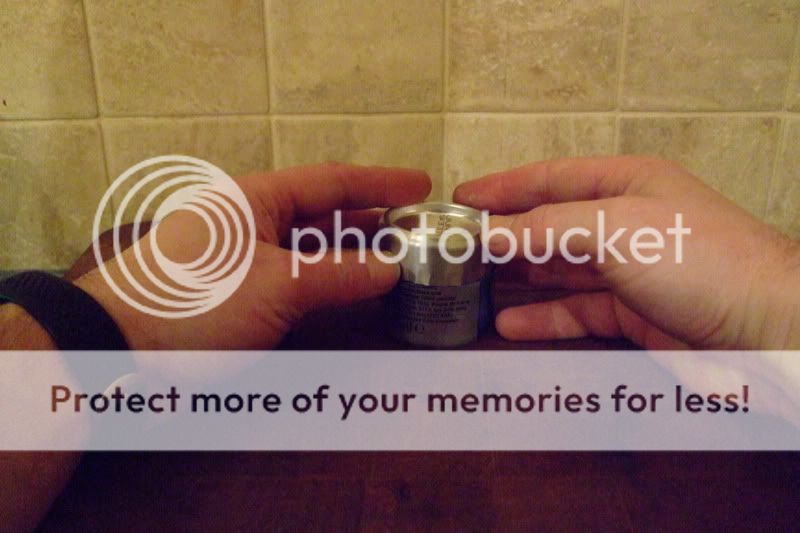
The tricky part comes next. Holding the lower half as level as possible, work it into the upper section. It can be frustrating but a fingernail or piece of can wall can be used as a shoehorn. Get it so it's just in place.
Now push down very carefully until it bottoms out. If you are unlucky, the inner can will buckle. Sometimes that's a failed stove. Other times not. Try to keep it level and go slowly. Over-crimping or a weak can can cause problems here.
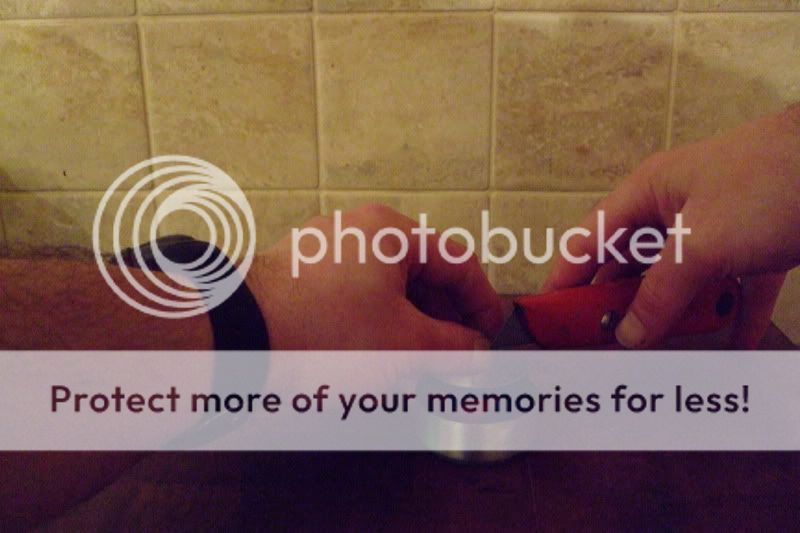
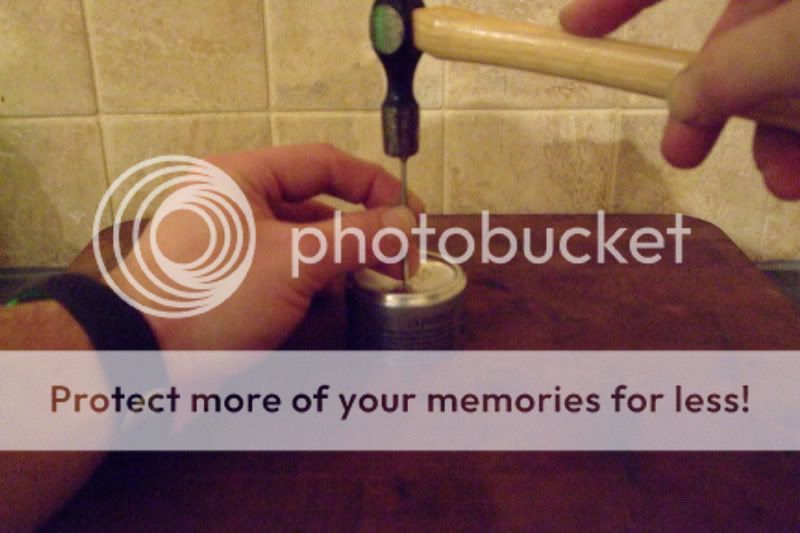
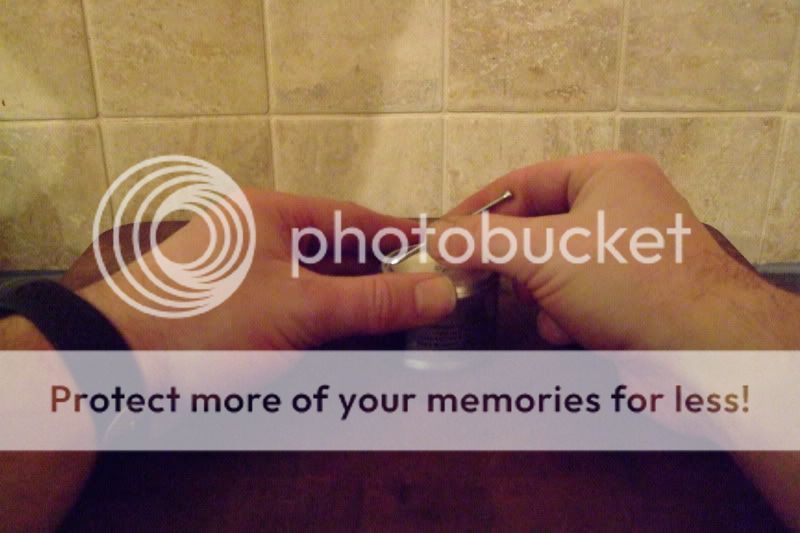
I use a sharpened masonry nail (which is safer than the knife) to score around the corner of the top concave of the can. Be diligent because it means a cleaner cut but don't overdo it.
Now cut from the centre of the top to the score lines, making quadrants. Careful.
If you've made your score lines good, you should be able to fatigue the sections out with a pair of pliers. Pump up and down until it weakens at the line and then go more gently so you get a clean break.
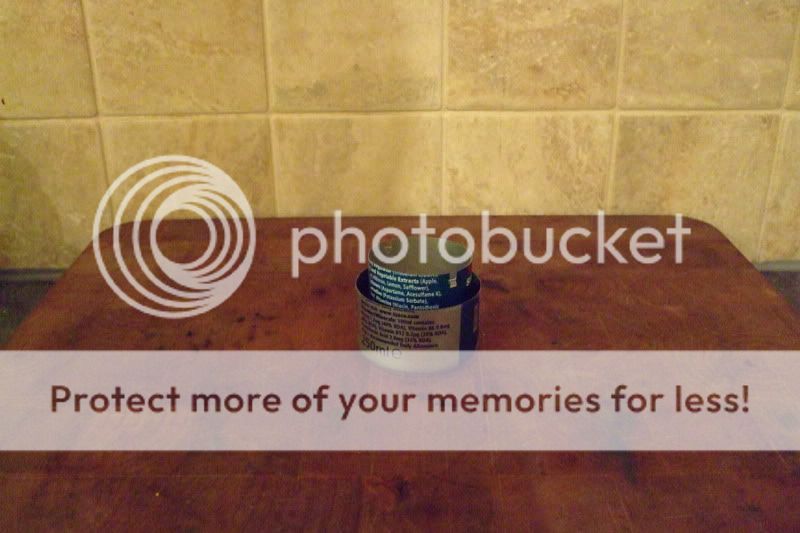
Clean up the edges with a file if you like but be very careful of damaging the inner wall.
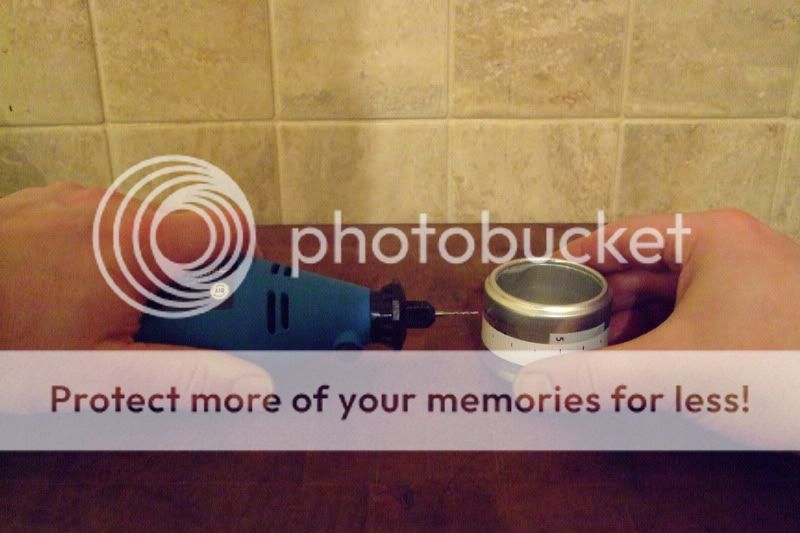
Make a paper strip (17cm long for a small diameter can, 21cm long for a larger drinks can). Mark dots at 1cm intervals, so 17 dots on the small cans and 21 on the larger. Tape this to the stove.
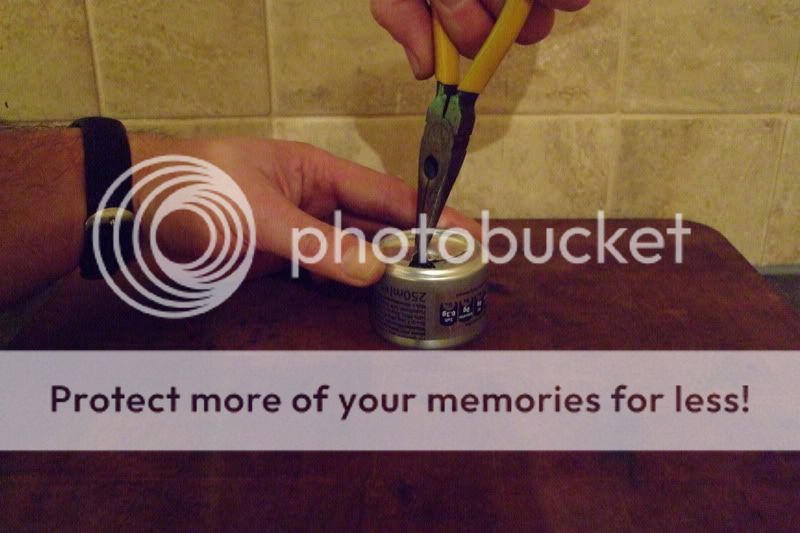
Use a hobby drill or similar with a 1.0-1.5mm bit to drill the holes. Be careful of the inner wall. You want the holes about 15mm down from the top of the stove. The lower the holes, the faster it burns but the lower the fuel capacity. 15-17mm is good.
Take off the tape and polish up with a sandpaper sponge if you like.
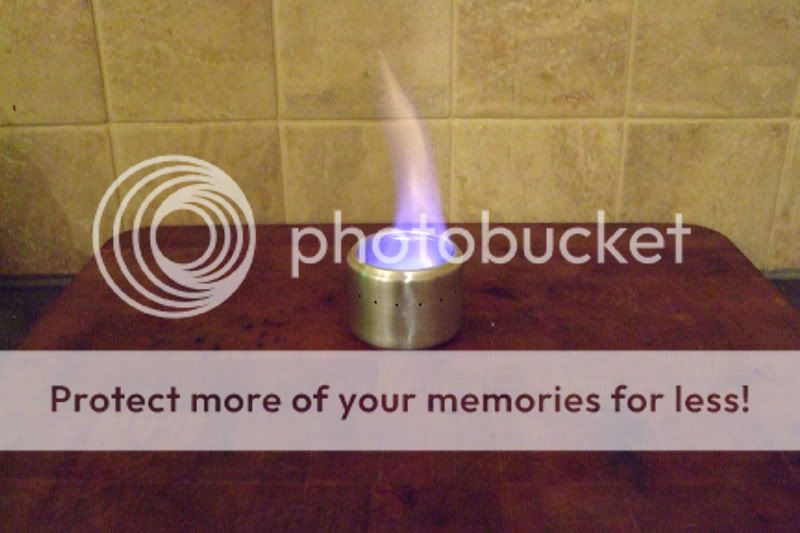
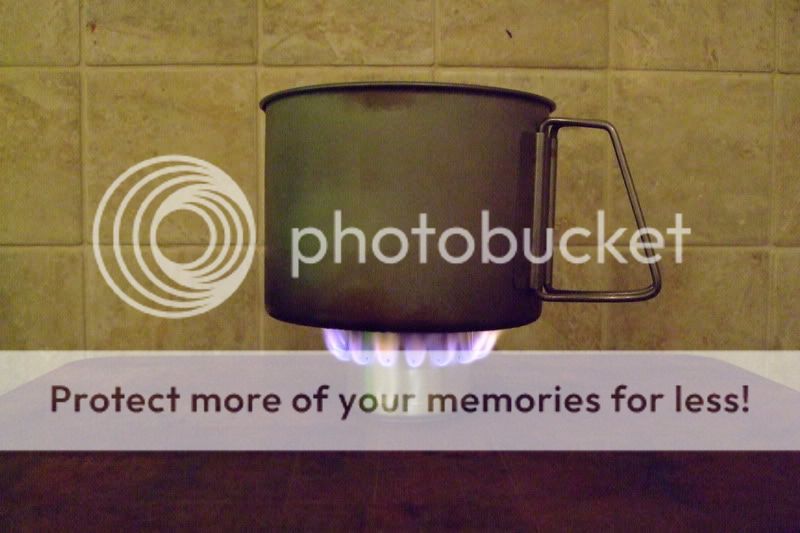
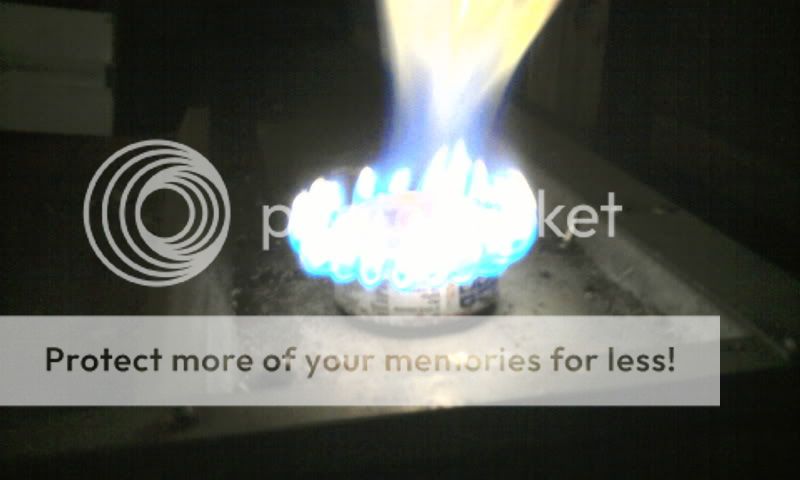
Add about 20ml of meths. Don't ever fill more than half way, or it could boil over. Same goes for any sideburner stove. Light.
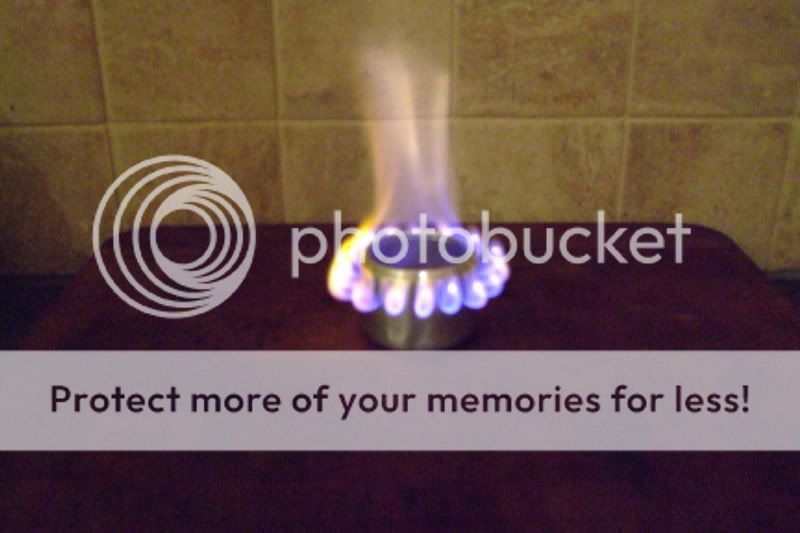
The first time the burn may be erratic but it should blossom after about 40 seconds.
Expect a boil time on 350ml of water (a mugful) to be around 4 minutes. On 20ml of fuel, it should go out naturally after 5 minutes or so.
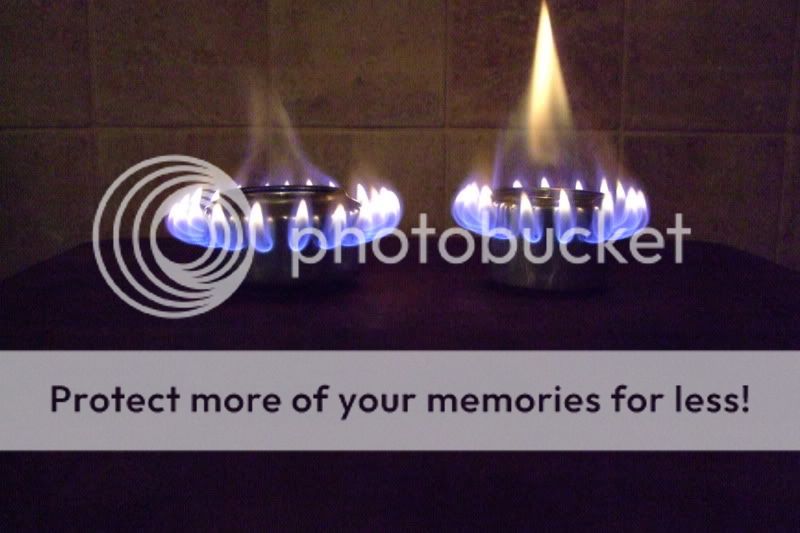
The same method and similar measurements can be used on a larger drinks can. The only difference is that the inner wall needs to be 7mm more than the top half of the stove to account for the deeper bottom. This gives a wider flame, burns hotter (~3 min boil time) but uses more fuel (~25ml for the same volume of water).
I prefer the small cans for an MSR Titan Kettle. The large cans would work well with broader pans.
The weight? A measly 8g for the small stove and 10-12g for the larger one. Tread on your stove and it's dead. But at ~10g and the size of a golf ball, you can easily take a spare!
It will need a windshield. A plate of windshield foil under the stove reflects heat back up, keeping the stove hot and burning well. But obviously no pan stand required. My complete cookset using this stove (Titan Kettle, stove, windshield, reflector & measuring cup) is 160g.
It works well. I've even used it in freezing conditions. It won't simmer of course, but that's where a pot cosy comes in handy.
Elvis or Englebert? Not sure. But it's a good name for the two. Who was the bigger though?
I don't really take any credit for this stove, other than taking the photos. Having said that I've not seen the inner wall built like that, so that might be my contribution.
Apart from not needing a pan stand, I didn't really talk about side-burner stoves compared to top-burners. The same method can be used to make a top-burner but obviously you drill the holes in the top.
The advantage of the side-burner stove is that when you put the pan on top, it closes off the central well and then you are down to mildly pressurised jets. With a top-burner like a Trangia, the central well continues to burn. Overall I find that the jet-only burn is cleaner and more fuel-efficient.
I have to say I was sceptical about the value of these stoves and whether they'd replace my mini-Trangia but they really do work well, cost next to nowt and weigh next to nowt.
Excellent article sanhozay,thanks. I have read up most of the stuff on zen stoves and have made a top burner but I will have a go at making your pretty impressive side burner. I built my inner wall by stapling the strip together and it seemed to work ok but not sure how long it will last.
If anyone wants aluminium to make customised windshields I can put you in touch with a supplier if you email me.
I've just ordered some foil for making windshields actually Vaude. Decent, stiff stuff, unlike what I use now.
I've not decided what I'm going to do with it yet. I might have a go at a Caldera Clone Cone but that will push me back toward top-burners. Or I might just make Jason Klass's Belt Buckle windshield, which I admire the simplicity of and would fit inside my kettle.
How did you find the stove building? Did you do anything much different from the above, apart from stapling?
I chickened out and made some top burners instead and wrecked a lot of cans in the process! I will have a go at the one shown on the zen alcohol stoves site when I have acquired more cans. Unfortunately our recycling was collected this morning and I should have gone out on an 'undercover' can collection when it was dark last night! I will report back when I either meet with success or have burnt the house down.
Ok so I've made a side burner,still got all my fingers and successfully replaced all my husband's tools without him knowing!
I drilled out the top using a circular saw blade which I found in his drill box-this worked really well and left a nice neat hole.
I used the instructions and dimensions for the zen alcohol side burner stove but drilled the holes 15mm down which unfortunately was just inside the bottom piece when I fitted them together so they were covered! I just re-drilled them by eye so that I could test the stove. It worked well with a tibetan 1100 mug on top. I will have another go but I think I will increase the inner band and top piece height by 3mm so I can drill the holes 15mm down. I doubt that an extra 3mm in overall height will affect the stability much.
Whoops, I've just re-read the instructions,checked the dimensions and re-measured my stove and I've accidentally made the bottom piece 22mm instead of 20mm hence the covered burner holes. Back to sneaking around raiding all the tool boxes again!
I had exactly the same problem with the holes clashing with the bottom part. I ended up giving even more leeway because I had a theory that holes up to 18mm down would make the stove hotter and avoid the pan sucking the heat out of it. In the end, the double inner wall solved that problem and I went back to 15mm down but kept the short bottom half.
Funnily enough, making the stove for the pictures re-ignited () my interest in making stoves and I've had a go at a Super Cat stove. Only a rough job but remarkably good. Uses 25% less fuel but boils as fast as my large-can sideburner. Don't think it will cope with wind so well though. I'll take it out on a walk and see.
But that's the beauty of this one. Five minute job. You only need a pliers-type hole punch, although a friendly cat is useful to consume of the contents of the can. The hardest part is getting the sticky label off.
Well following the instructions I have made one and I have to say I'm impressed. I could quite get into making these! I have a couple of refinements to my building technique but for a first attempt I was very pleased. I will remember to remove all the print from the outsides next time though!
It does take a few attempts to get a good one but you learn more each time.
Some people don't agree with taking the paint off. It's not necessary and the metal is so thin to start with that it does weaken it slightly. Some cans seem to have more heat-resistant paint than others.
I was equally impressed with the Supercat stove design, especially the fuel efficiency. I took it out on a walk and brewed up with it. Performed well with a windshield and I've since made a stronger one with an aluminium Nivea shaving foam can.
Amazing family weekend with old steam engines, classic car displays, market stalls, and full catering and bar. And camping on site - Save £25 by booking in advance.